This project was our final large task for Kid’s Bedroom #1. I got the idea from StudioDIY, but it looks like TheHappyHomeProject also did it. They are both amazing and you should check them out if you’re interested in doing something similar.
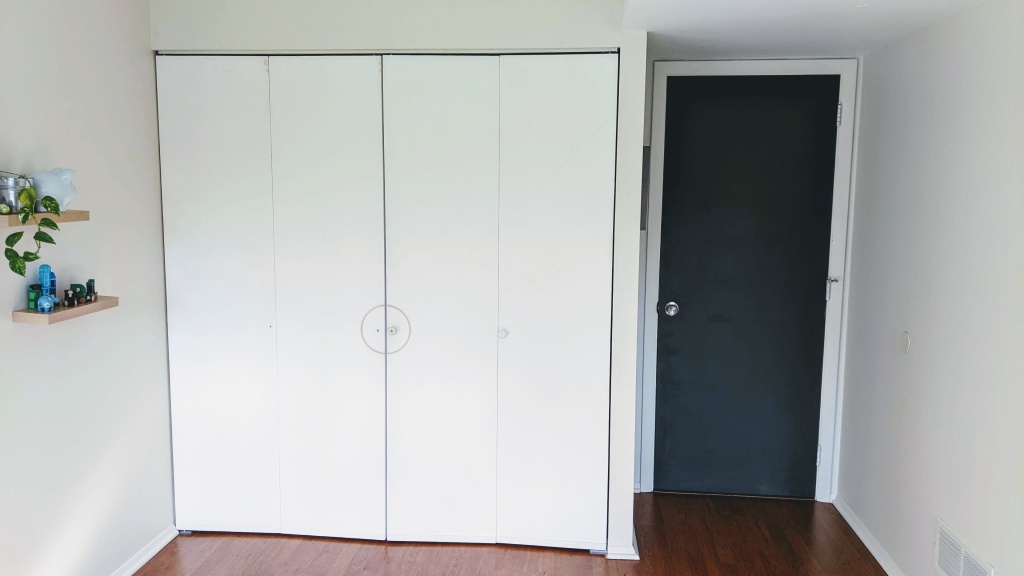
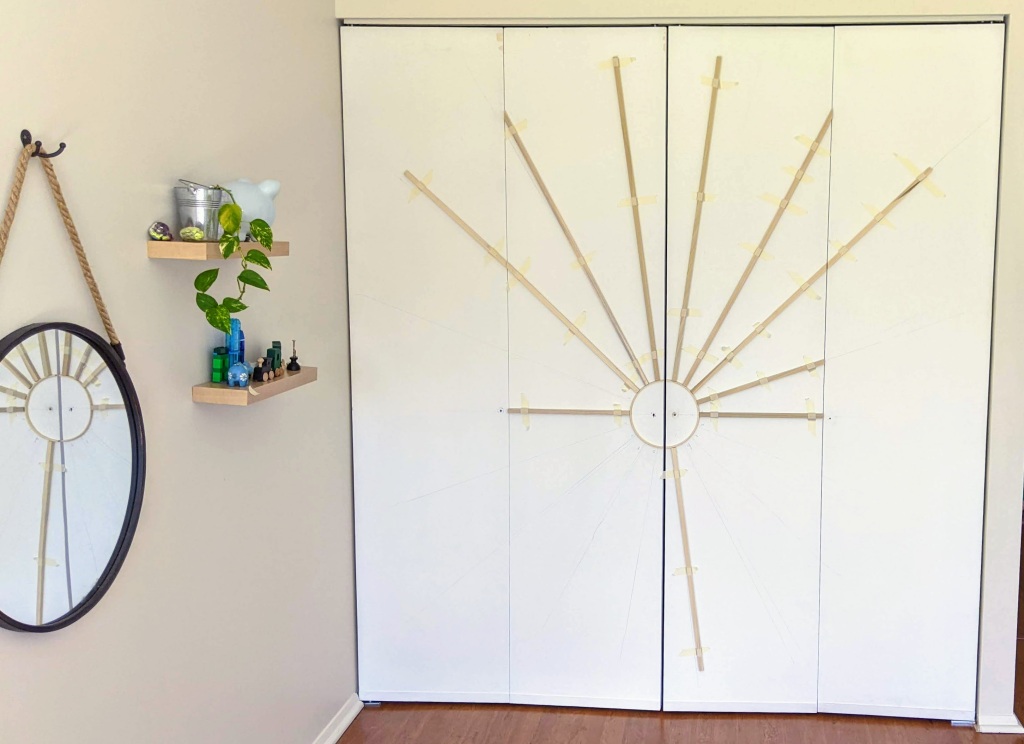
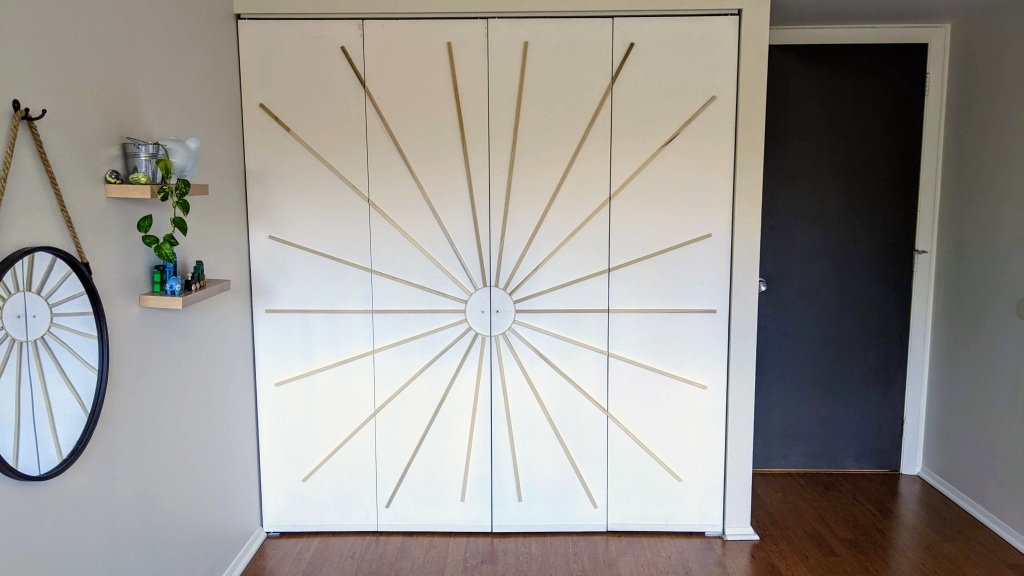
This project was simple, though time-consuming. We started with plain, white, bifold closet doors:

Installing these doors was a feat all in its own. Now that they were hanging, I opted to do all the woodwork and painting without taking them down.
To decide how many lines in the starburst we’d have, I put up washi tape, as suggested by StudioDIY.
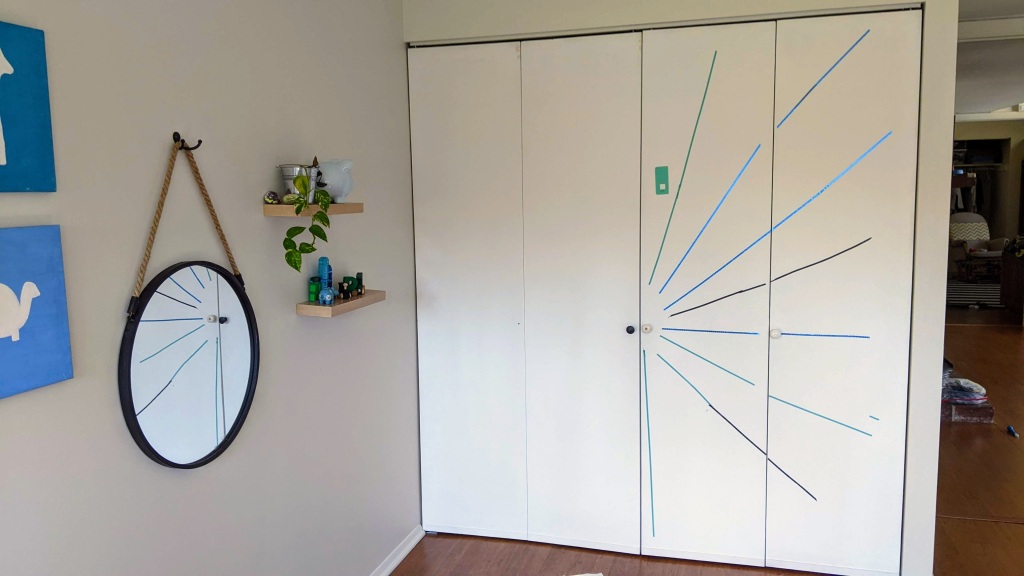
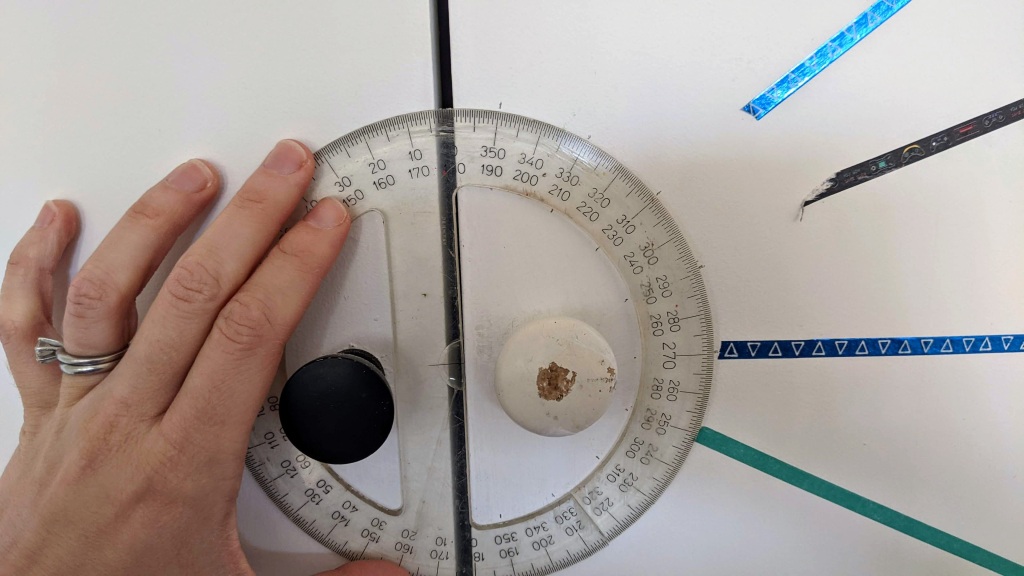
This was too free form for my taste, but it at least gave me an idea of how many lines I liked. To make sure everything was neat and tidy, I pulled out the protractor and marked every 20 degrees (beginning 10 degrees in from the center line.) This marked 18 starburst lines.
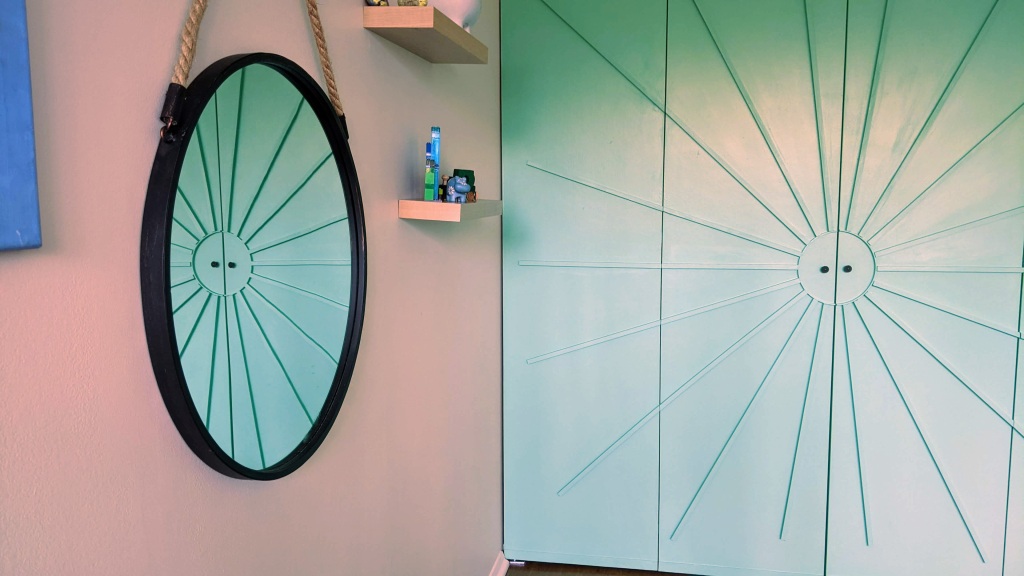
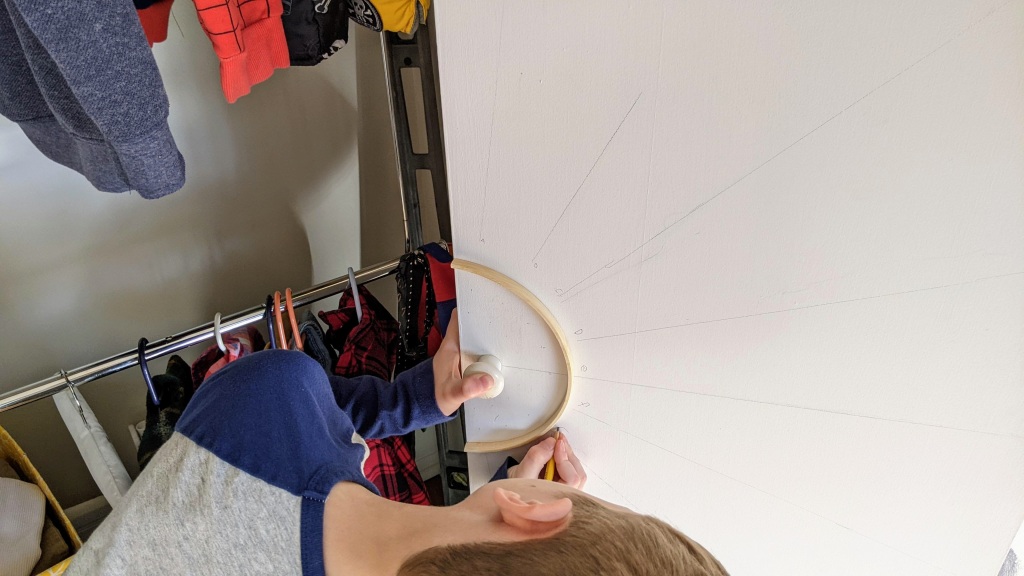
For the center circle, I used an 8″ embroidery hoop, hacksawed in half and woodglued in place:
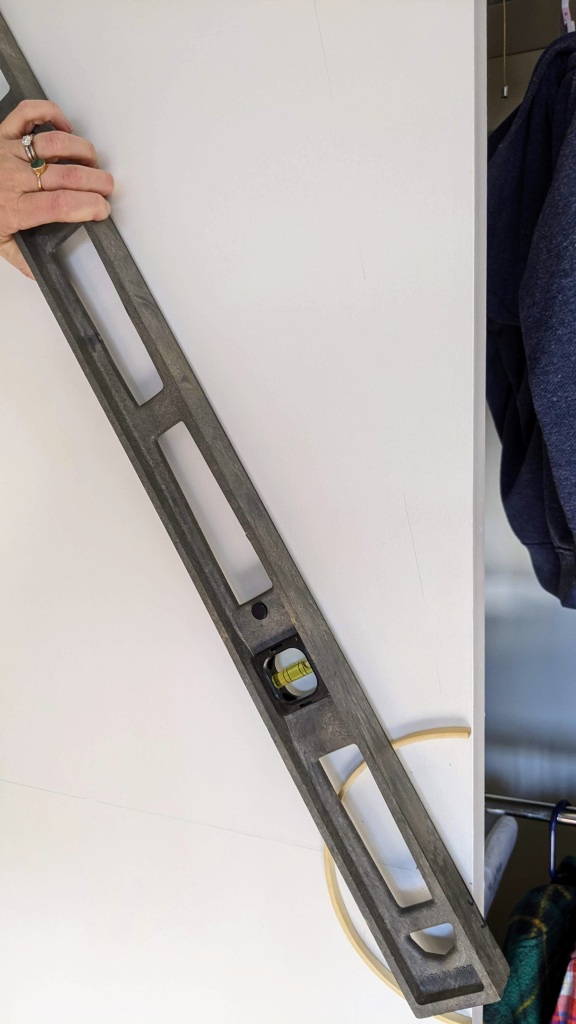
Since some of the sunburst lines will transverse two bifold doors, I pulled out a long level to draw out from the center of the closet. Once the wooden dowels were cut, I planned to glue them to the line. This should ensure they were straight and lined up across both bifold doors:
To find out where to cut the dowels, my little helper lined them up with the edge of the embroidery hoop.
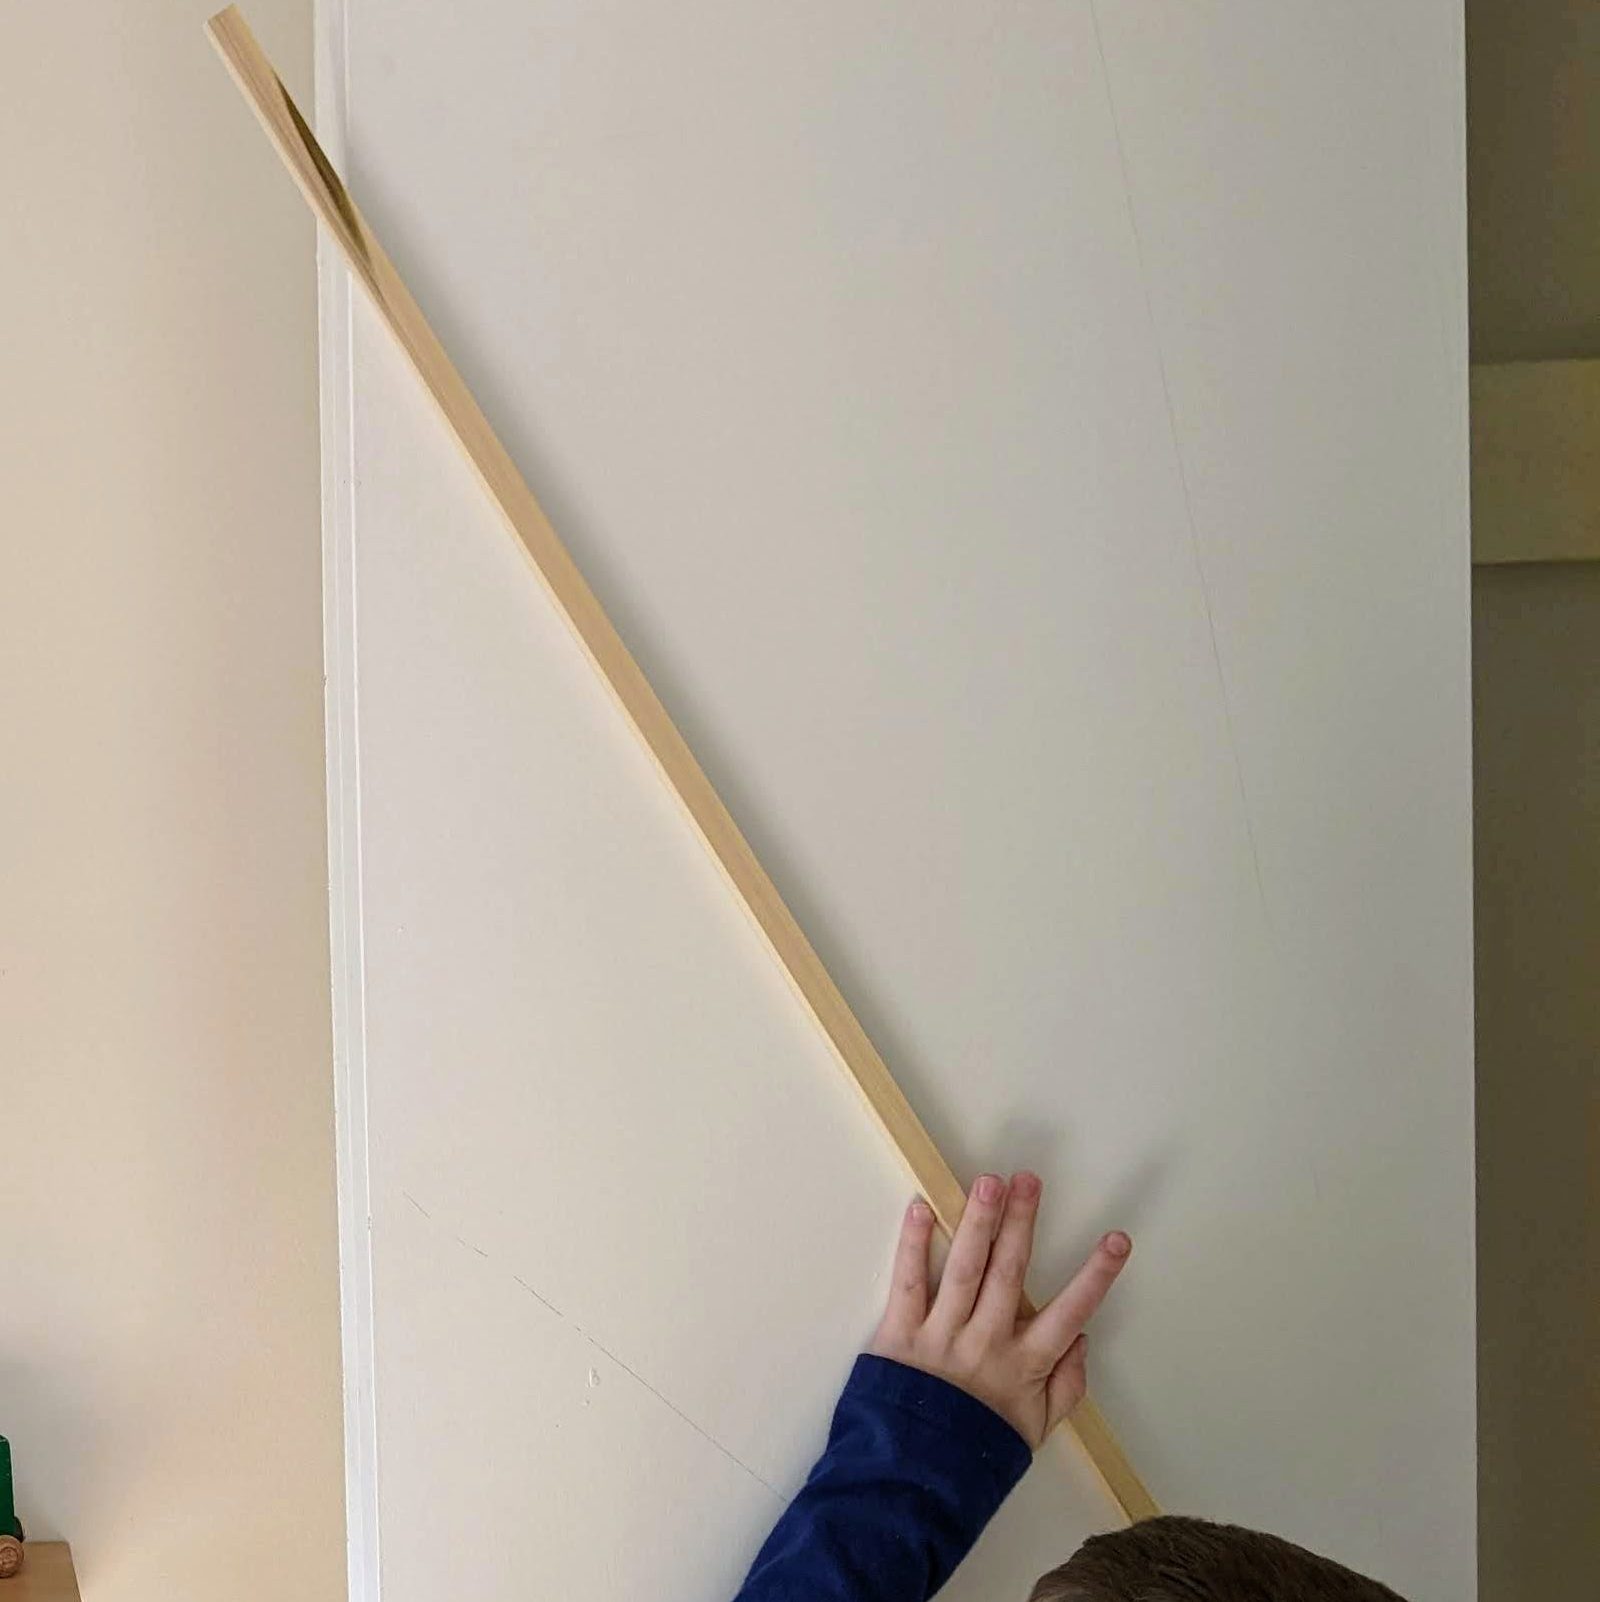
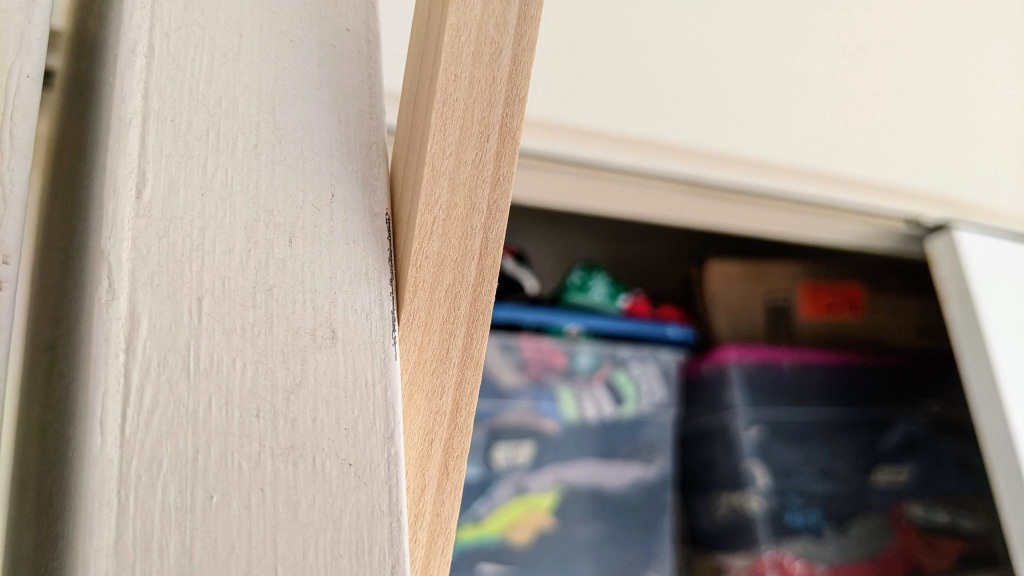
Wherever the dowel hit the fold in the doors, I marked a line.
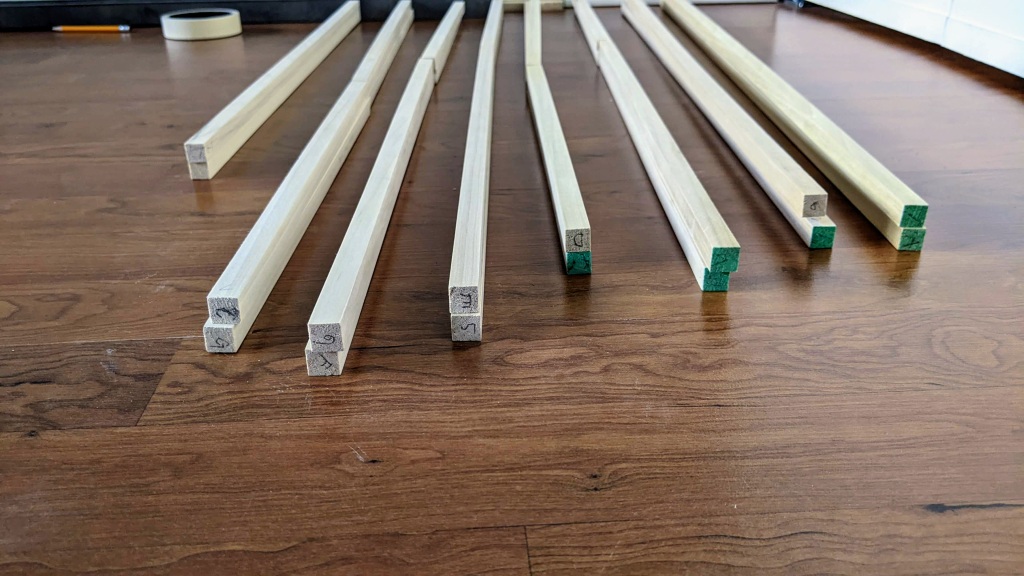
Before sending the dowels out to the garage for cuts, we labeled each with a letter or number that corresponded with that particular line on the door. Both ends of the dowel were labeled so when they were cut, we wouldn’t have any confusion. Labelling the door:
A table saw made quick work of the cuts. I kept them in their pairs:
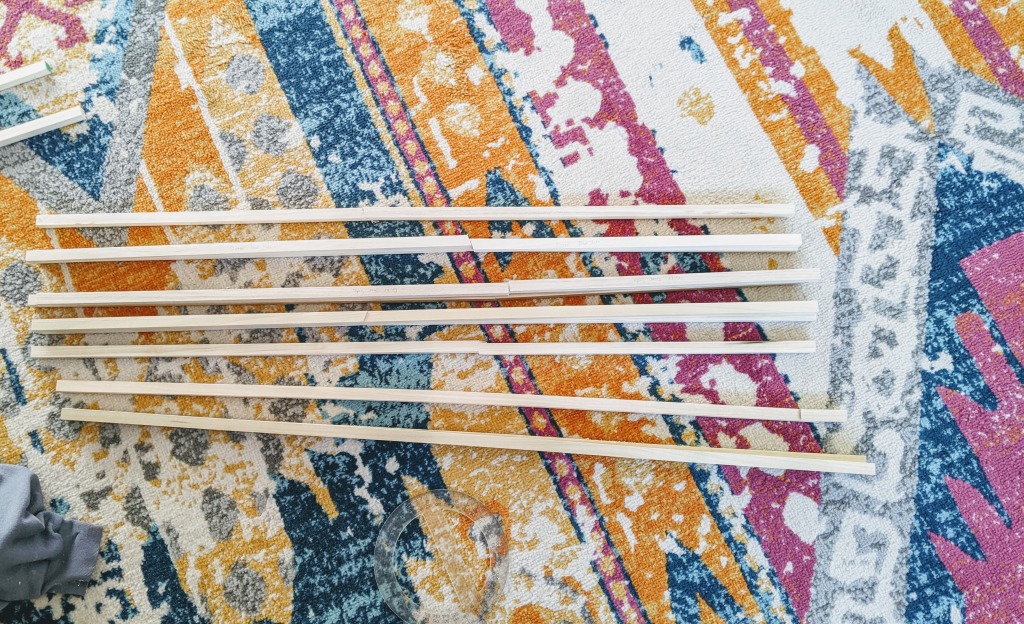
The dowels needed to be sanded down:

All sanded and lined up. Ready for glue:

Dowels cut; door ready:

I found it easiest to put the tape on the dowels before the glue.
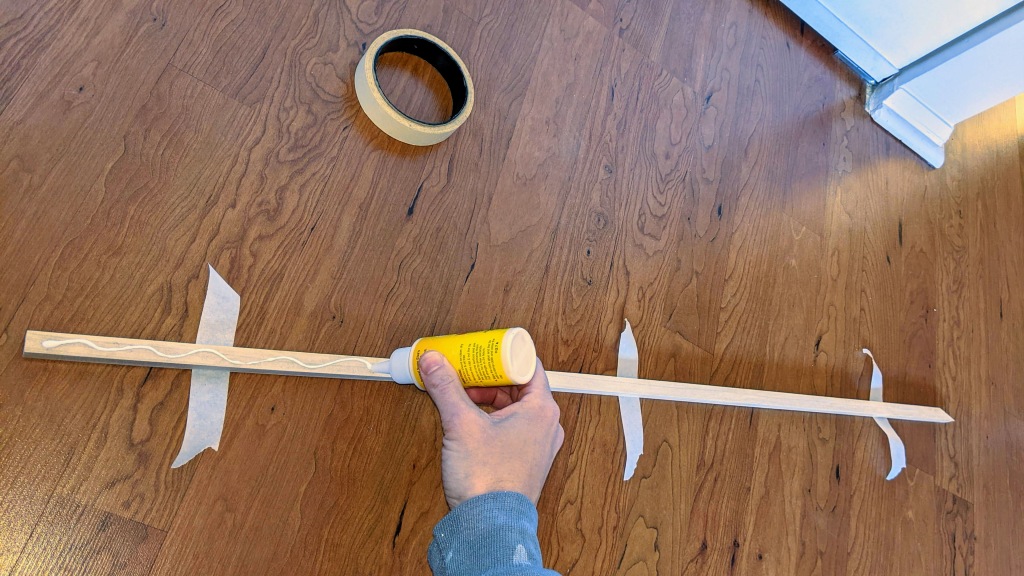
I placed the dowels on the lines I’d previously drawn, using a small level to make sure the dowels lined up if they bridged the crack between the doors:
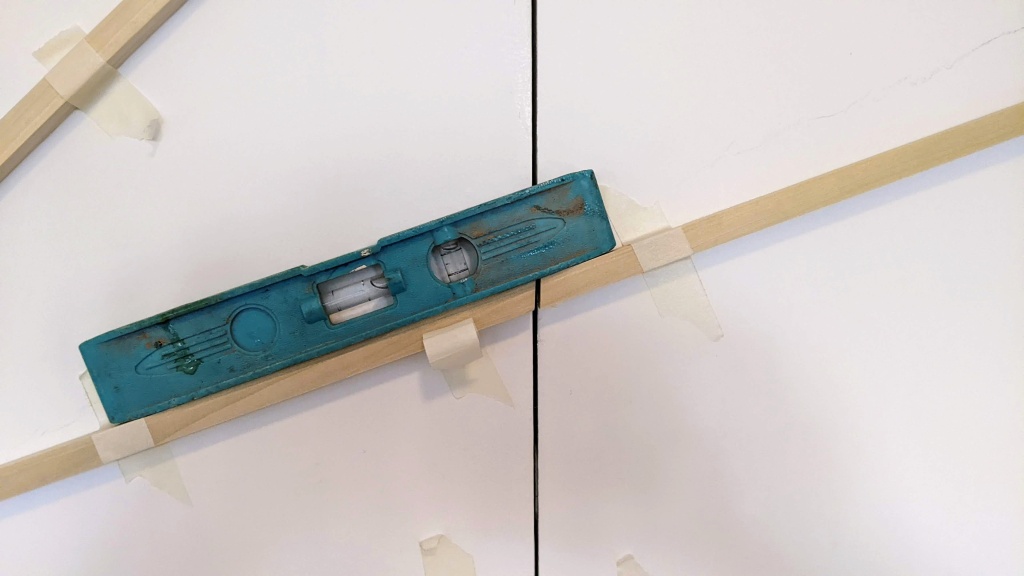
The level was just used for its straight edge; the actual level aspect of this is unimportant.
Glue, glue, glue:
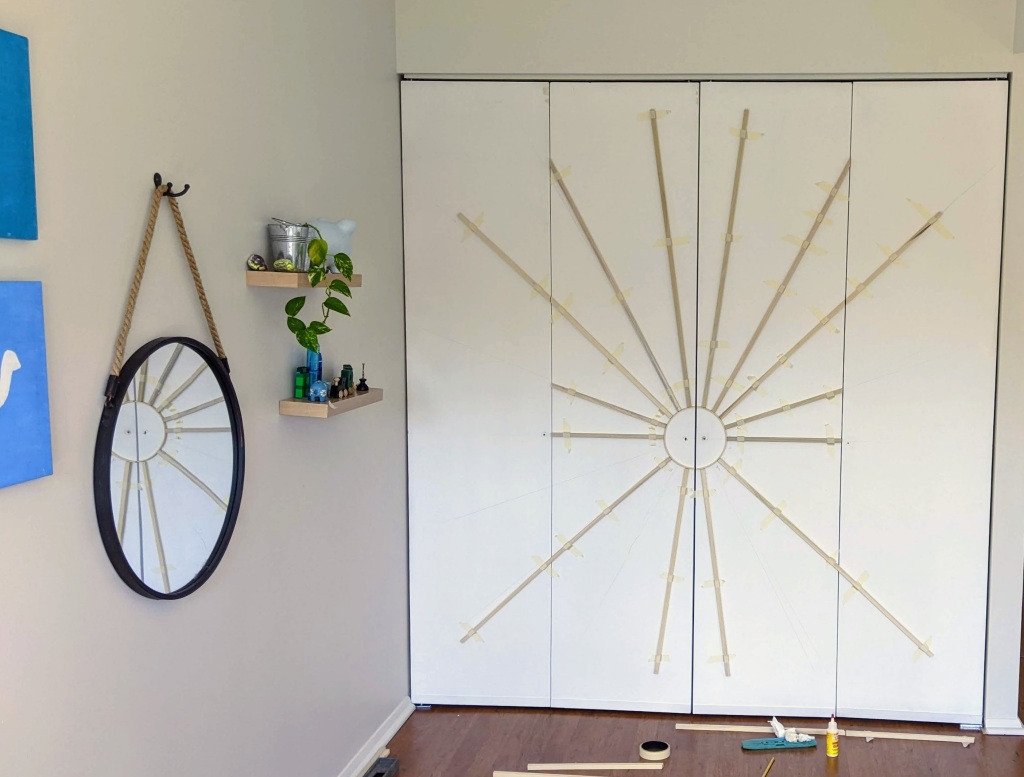
Here are all the dowels glued to the doors and taped to hold them in place. The glue had to dry for 24 hours:
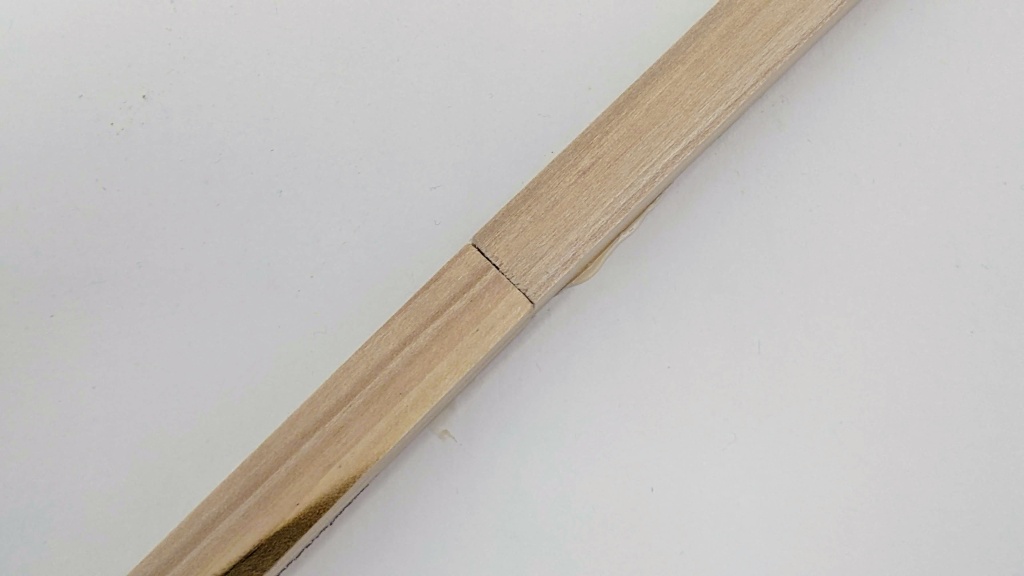
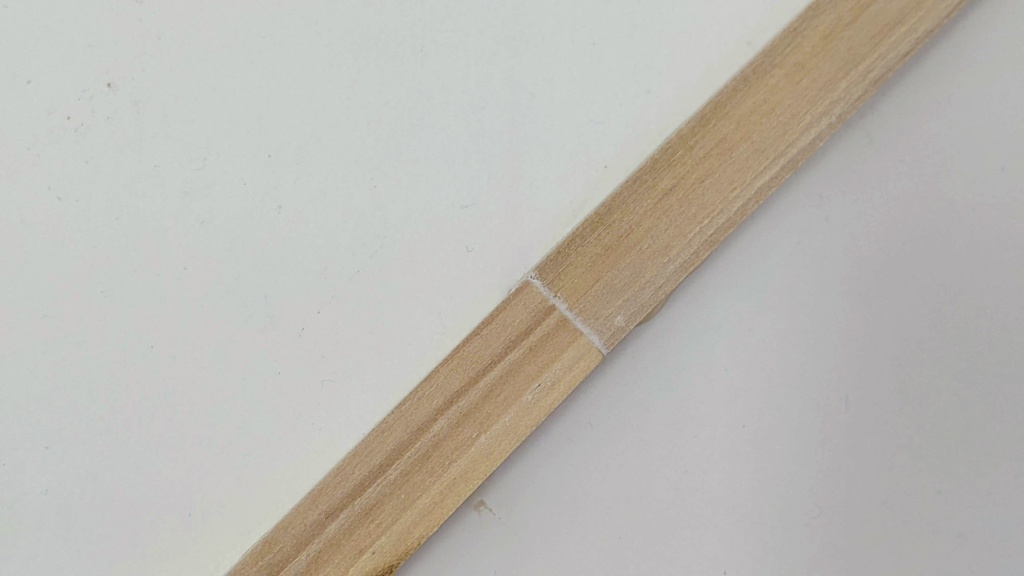
A couple of the lines were longer than one dowel, so I used a little spackle to fill in the crack. This way it would look like one continuous dowel.
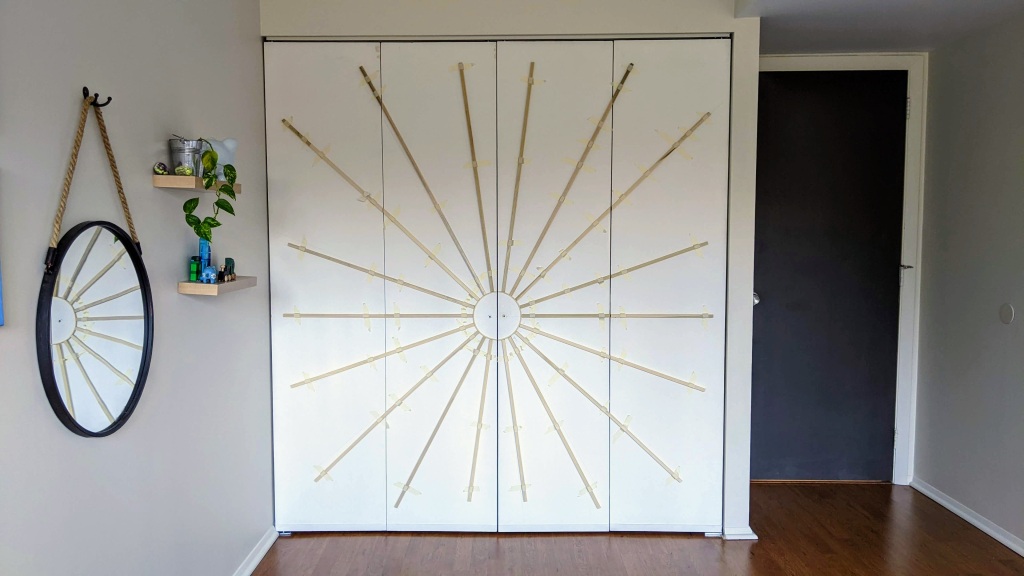
Some dowels were a little warped and didn’t lay flat on the doors. I caulked those gaps. Here is the sunburst: glued, spackled, caulked, and ready for paint:
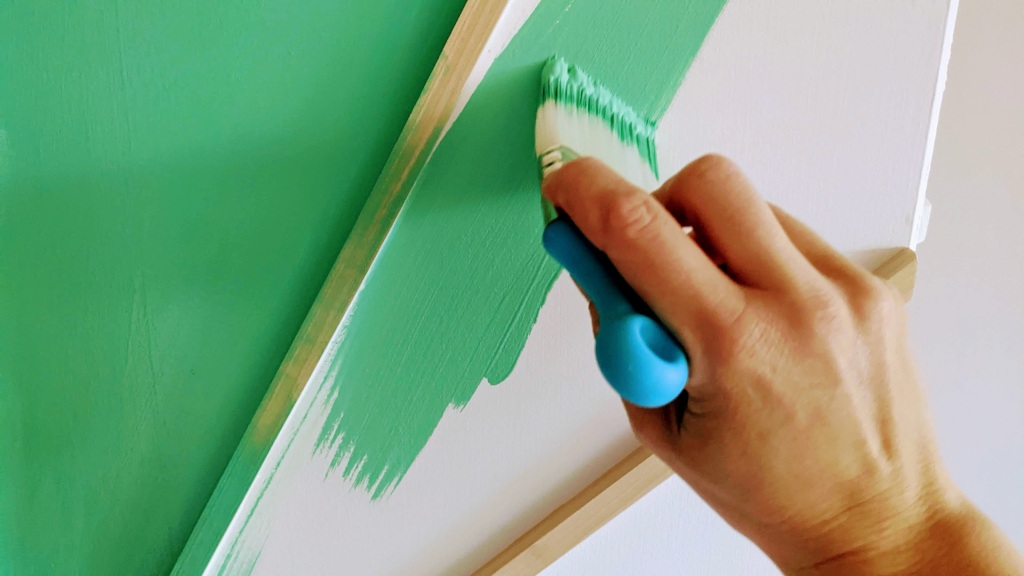
Our five-year-old chose Valspar Lavish Green for the color. We bought a quart of it in semigloss from Lowe’s and got to work:
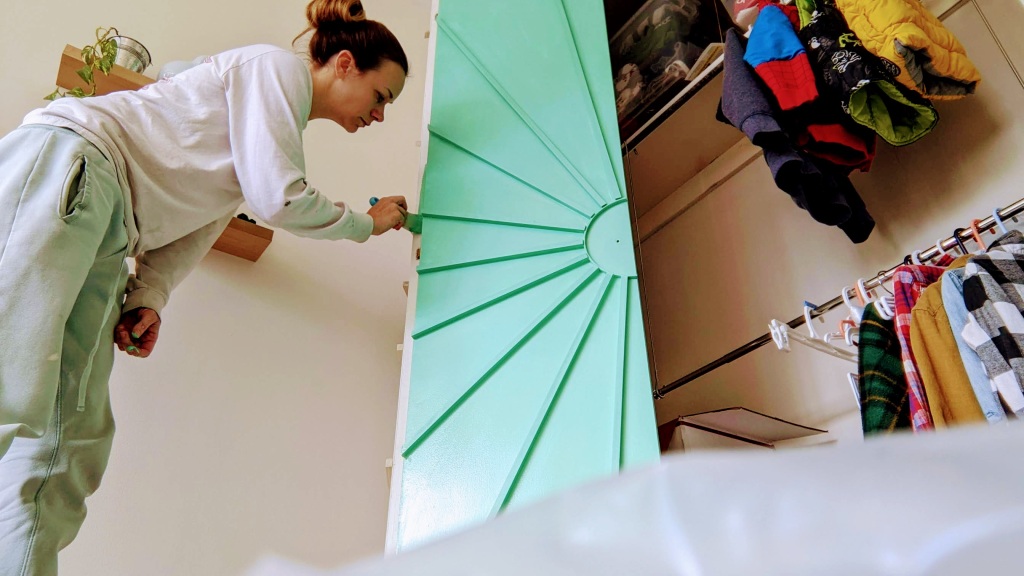
Two coats of Lavish Green later:
The photos makes it look blue, but it is fact a bright green. The picture above with the paint brush is a more accurate representation of the true color.
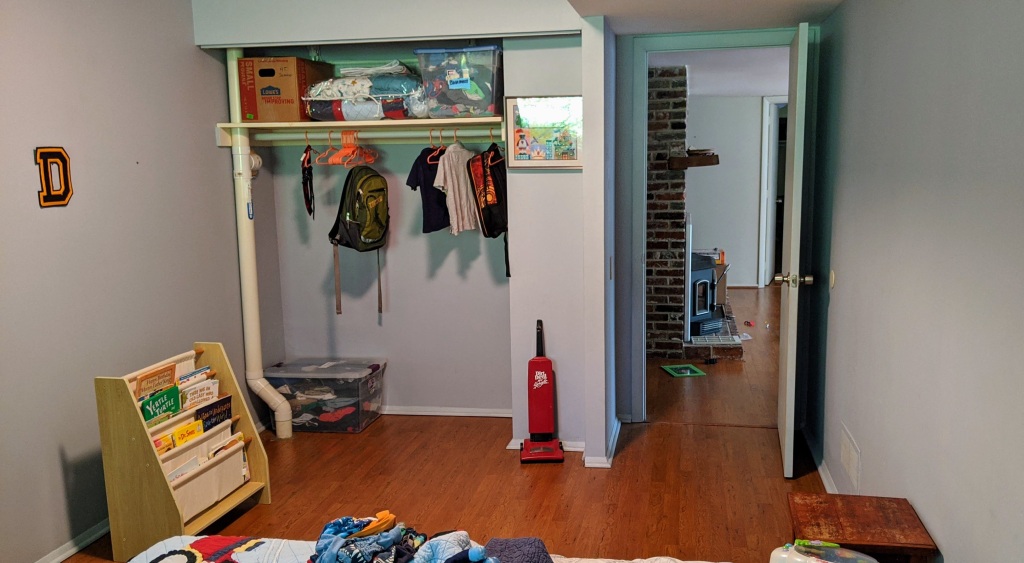
Here’s where we started when we moved in:
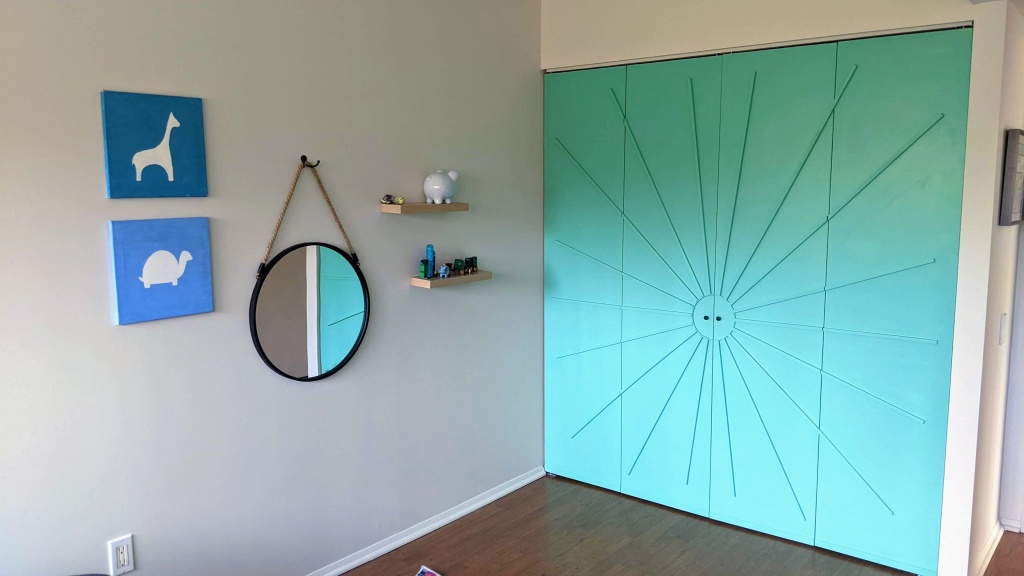
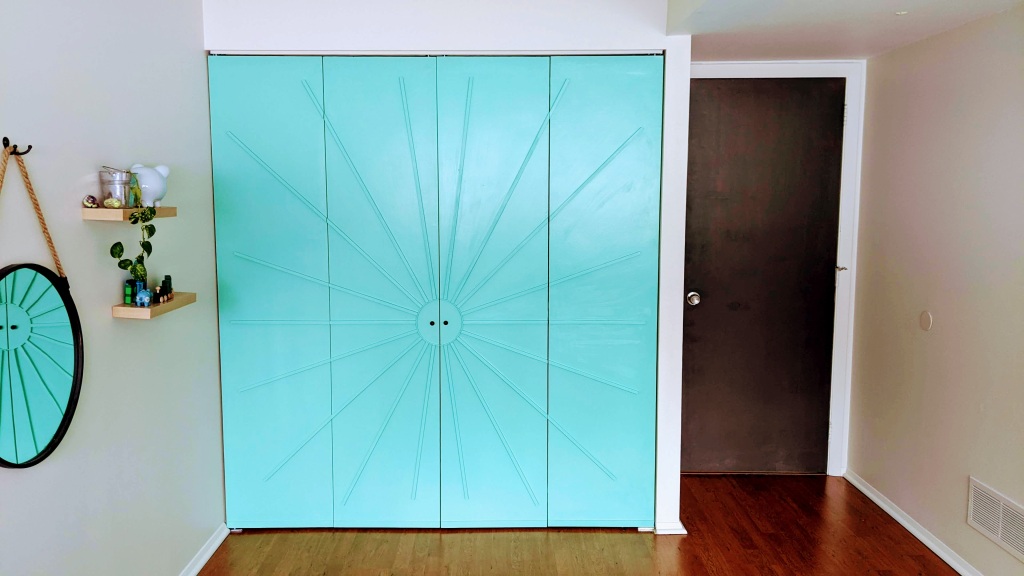
And today:

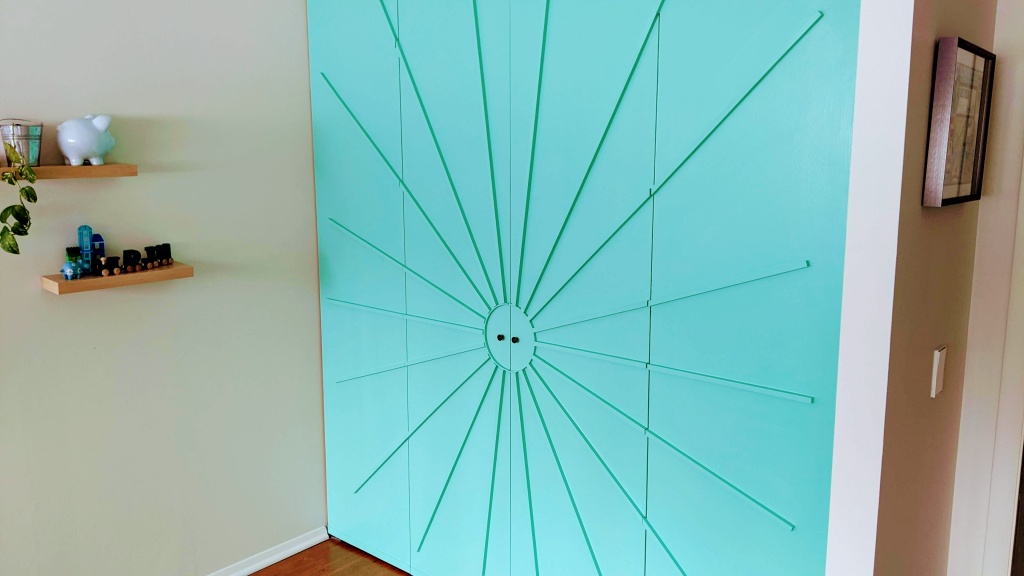
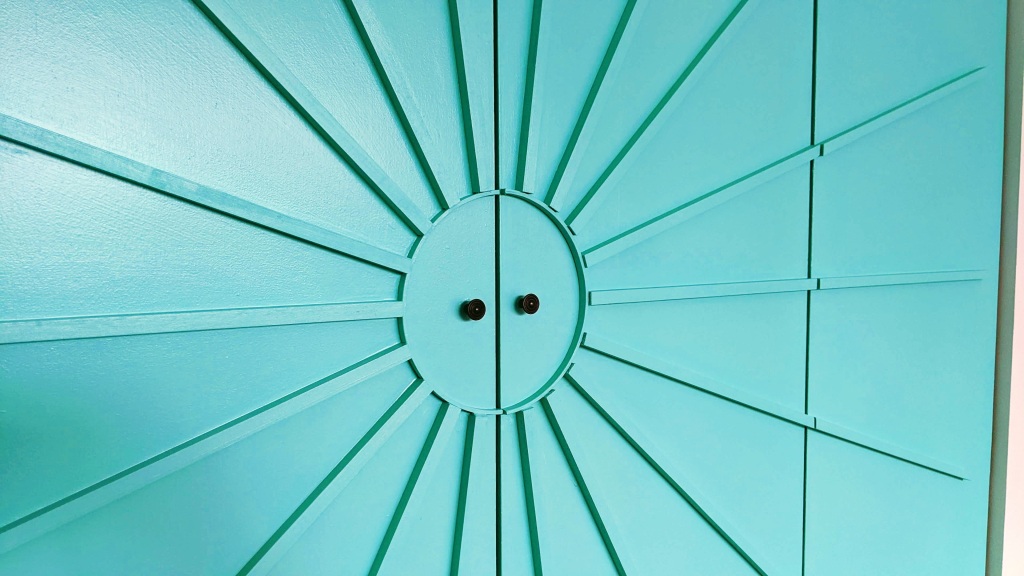
A close-up of our handiwork:
I’m really proud of this project – it took patience and planning, but was worth it.
So far Kid’s Room #1 has seen these projects:
- Repair the water-damaged ceiling
- Fill gaps between floor and baseboard
- Paint an accent wall to frame the windows
- Paint the walls to match the rug and accent wall
- Add access panel and on/off knob for exterior spigot
- Paint door
- Repair and hang closet doors
- Paint closet doors in sunburst pattern
Projects that are not urgent, but we’d like to get to one day:
- Hang moon light
- Finish crystal display
- Build a bed
- Update or buy a new dresser that matches better
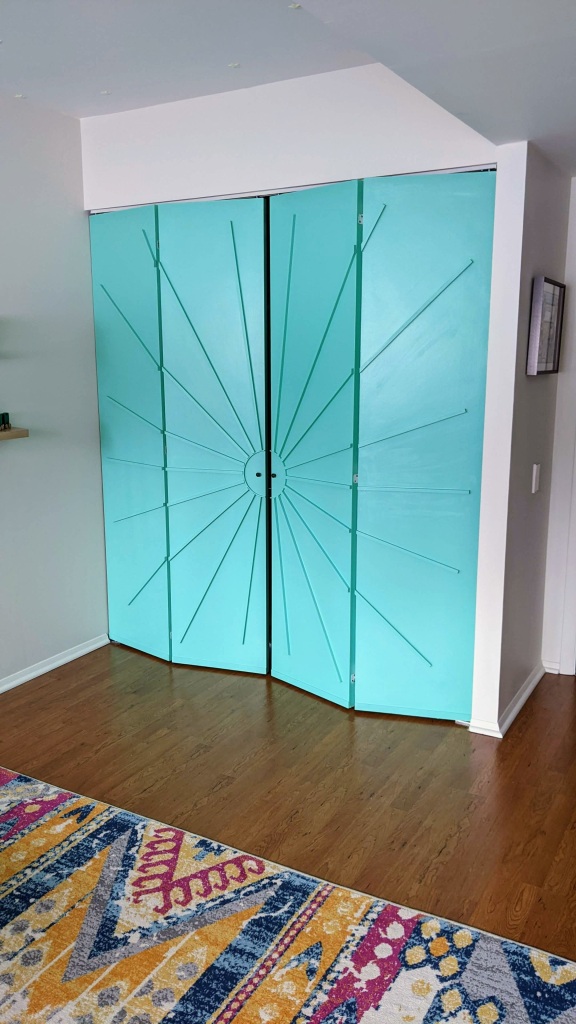
A few more photos because I love how it turned out: